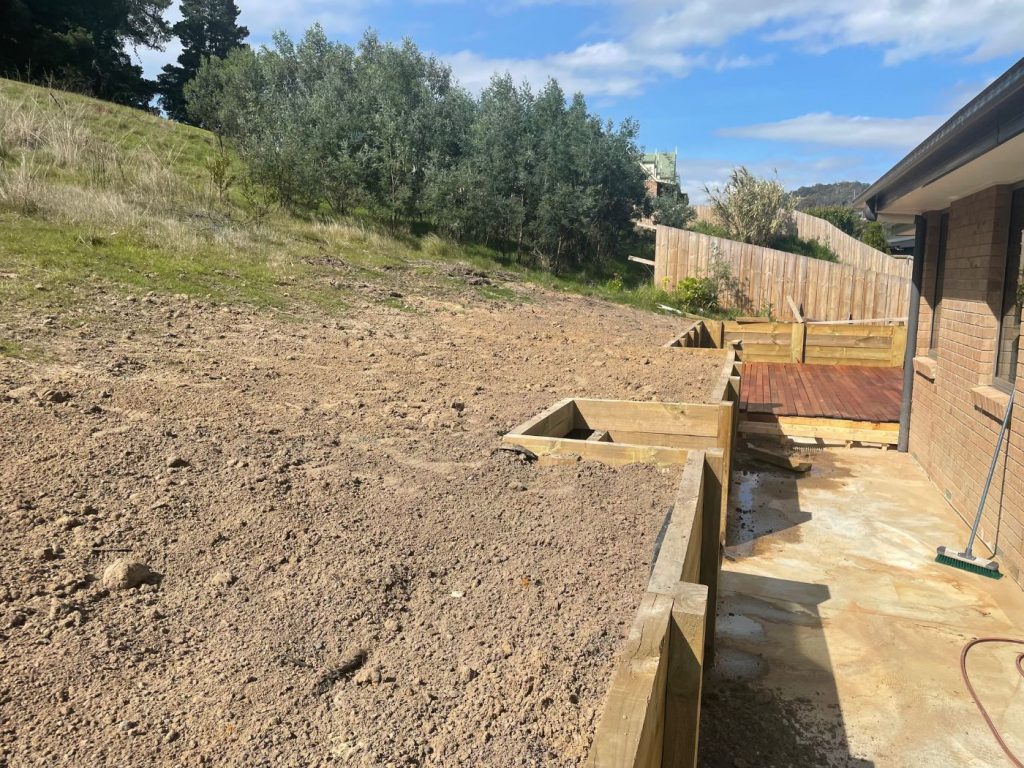
Retaining Wall
Building a Treated Pine Retaining Wall: Steps and Scope of Works
A treated pine retaining wall is a popular and cost-effective solution for managing soil erosion and creating level spaces in landscapes. Below are the typical steps involved in building a treated pine retaining wall, along with the scope of works for each stage:
Step 1: Design and Planning
- Assess the site where the retaining wall will be constructed, considering the soil type, slope, and drainage conditions.
- Determine the required height, length, and thickness of the retaining wall based on the specific landscaping needs.
- Obtain any necessary permits or approvals from local authorities, if required.
Step 2: Material and Tool Preparation
- Source high-quality treated pine timber, appropriate for use in a retaining wall to resist decay and insect damage.
- Gather necessary tools and equipment, such as a shovel, level, tape measure, string lines, post hole digger, circular saw, drill, and screws.
Step 3: Excavation and Leveling
- Excavate the area where the retaining wall will be placed, ensuring a level and compacted base.
- Create a level trench along the length of the wall to provide a stable foundation.
- Install a geotextile fabric against the soil side of the wall to prevent soil erosion and improve drainage.
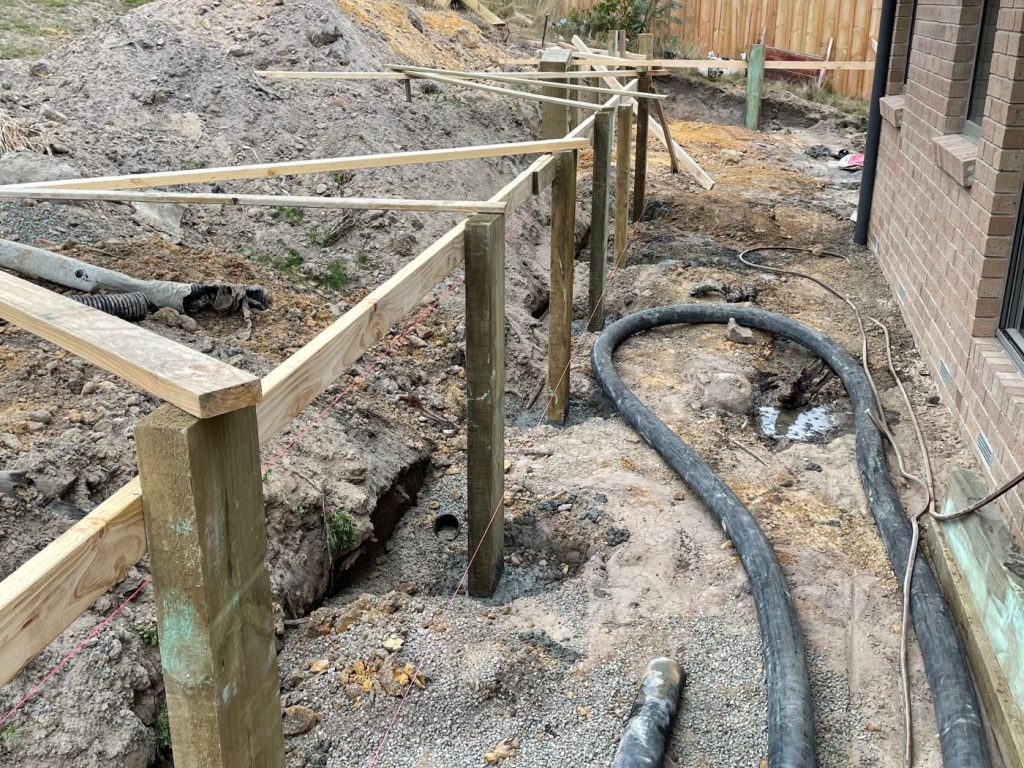
Step 4: Setting the Posts
- Place treated pine posts at regular intervals along the trench, ensuring they are plumb and at the desired height.
- Backfill the trench with gravel or drainage material to provide additional stability to the posts.
Step 5: Installing the Sleepers
- Attach treated pine sleepers horizontally between the posts, using appropriate screws or nails.
- Ensure each sleeper is level and properly aligned with adjacent sleepers.
- If building a tiered retaining wall, repeat this step for each tier.
Step 6: Stabilization and Drainage
- Install drainage behind the wall by placing agpipe (perforated pipe) along the backfill and connecting it to a suitable outlet to manage water runoff.
- Add a layer of gravel or drainage aggregate behind the wall to enhance water movement away from the structure.
Step 7: Finishing Touches
- Cut and trim sleepers as needed to complete the wall’s desired height and appearance.
- Apply a protective sealant or stain to the treated pine timber to enhance its longevity and appearance.
- Perform a final check for proper alignment, levelness, and structural integrity.
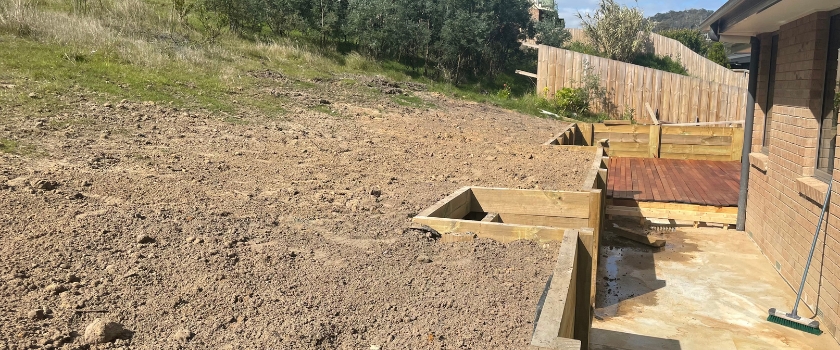
Step 8: Backfilling and Landscaping
- Carefully backfill the area behind the retaining wall, ensuring proper compaction of the soil to prevent settling.
- Complete any additional landscaping tasks, such as laying grass, planting shrubs, or adding mulch.
Building a treated pine retaining wall requires precision and attention to detail. It is recommended to consult with a professional landscaper or contractor for larger projects or if you’re unfamiliar with the construction process. Additionally, always follow safety guidelines and adhere to local building codes and regulations during the construction process.